


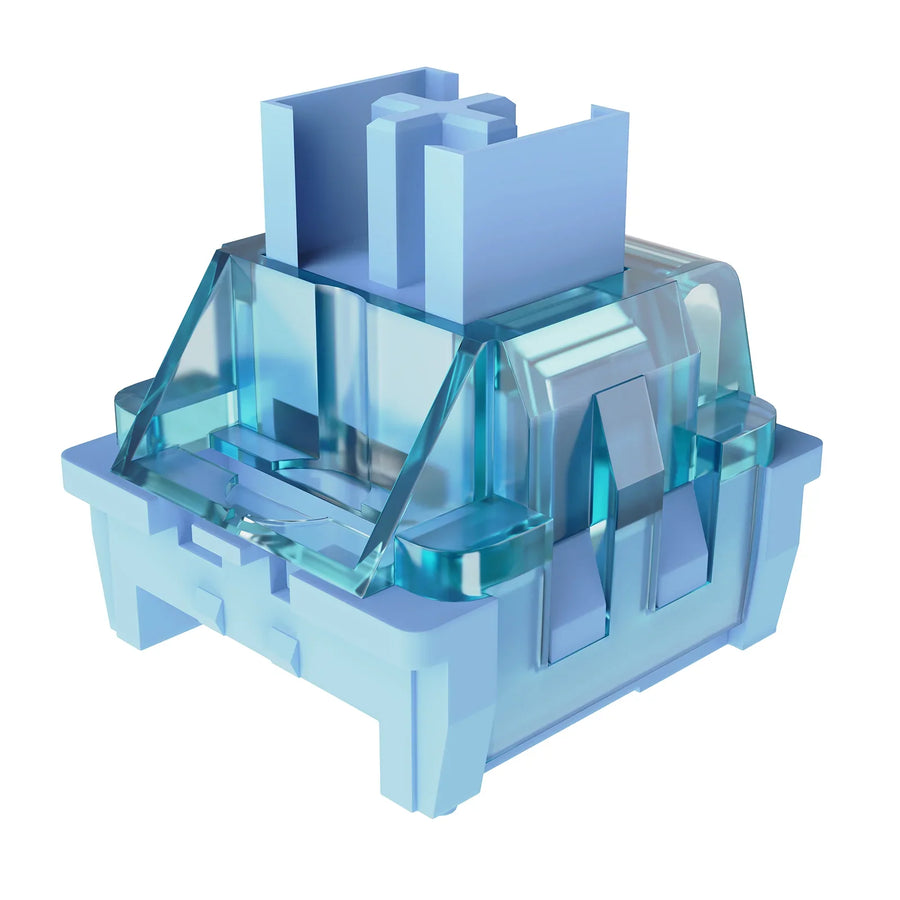
If a key stopped registering right after a switch swap, the fix is usually mechanical rather than electrical: disconnect the board, pull the switch, inspect both pins, and gently straighten or replace the affected switch. Align both pins squarely over the socket holes so the switch drops in smoothly without resistance.
Knowing how to fix a bent switch pin on a mechanical keyboard requires understanding when to stop. This procedure assumes a hot-swap keyboard with removable switches, and repair stops immediately if the hot-swap socket itself feels loose, sits lifted, or resists insertion.
Key Takeaways
- A bent contact pin is a frequent first suspect when a key fails to register after a switch swap, though other switch or socket issues remain possible.
- Remove the switch and inspect both contact pins before reinsertion; never use insertion force to test alignment.
- Straighten an intact, lightly curved pin once using flat tweezers; replace the switch if a pin shows sharp creases, cracks, or severe misalignment.
- Stop immediately if the hot-swap socket wobbles, lifts away from the PCB, or fights a properly oriented switch.
- If a known-good switch also fails in the same position, focus troubleshooting on the socket or PCB rather than repeated switch insertions.
How to Fix a Bent Switch Pin Without Forcing the Socket
Fixing a bent pin requires pulling the switch cleanly, correcting or replacing it, and reseating it without pressure. The steps below apply strictly to keyboards with hot-swap sockets, as soldered switches require desoldering and a different repair sequence.
Before You Begin
Confirm the keyboard uses hot-swap sockets, then disconnect the USB cable or turn off wireless power so no unexpected keystrokes register. Pull the keycap straight off with a wire keycap puller, then use a dedicated switch puller to compress the housing clips and lift straight upward rather than rocking sideways. A pair of fine, flat-edge tweezers works best for nudging a curved pin back into alignment; neither a switch puller nor the PCB socket should serve as a lever. Our switch puller tools collection provides standard puller options that fit common hot-swap plates safely.
Follow the Repair Sequence
Follow these sequential steps carefully to inspect and fix a bent switch pin on a mechanical keyboard:

- Disconnect the keyboard from power before handling switches.
- Remove the keycap with a keycap puller.
- Lift the switch out with a switch puller, pulling straight up to avoid socket strain.
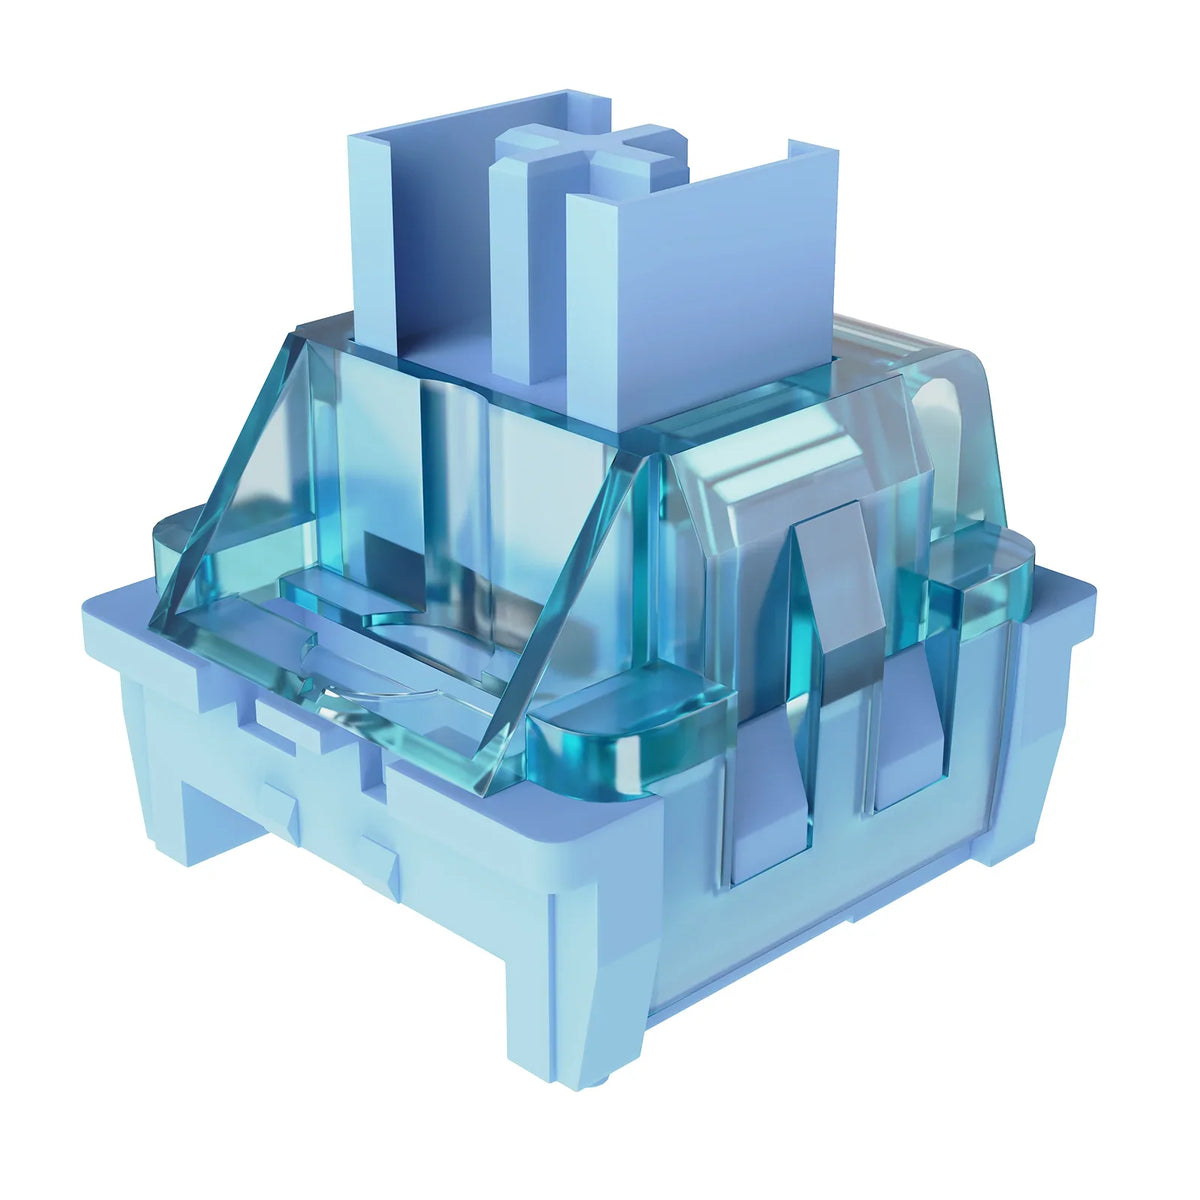
- Turn the switch over to examine both metal contact pins for lateral bends, flattening, or cracks.
- Check pin condition: a light curvature is generally recoverable, whereas sharp right-angle creases, cracked metal, or signs of metal fatigue are not.
- Straighten a recoverable pin with gentle, even pressure from flat tweezers until both pins stand parallel; replace the switch if it cannot maintain an upright shape.
- Position both pins directly above the socket contact holes before applying any downward force. Straight switch pins should enter the socket smoothly; if you encounter resistance, stop and inspect pin alignment instead of pushing harder.
- Press gently straight down until the switch housing clicks flush into the plate, then test key actuation before reattaching the keycap.
- Reattach the keycap only after verifying that keypresses register reliably.
A switch that seats smoothly and triggers consistent inputs is ready for daily typing. If it still binds or sits unevenly, remove it immediately to protect the board.
When to Stop: Hot-Swap Socket Damage
Stop and disconnect the board the moment an aligned switch meets rigid resistance or the socket shows signs of physical loosening. These symptoms indicate socket or PCB failure rather than a minor switch pin misalignment.
Hot-swap sockets are surface-soldered to the underside of the circuit board, and forcing a misaligned switch into the socket can loosen or crack that solder joint. A socket that wobbles, separates from the circuit board, or pushes downward under normal contact signals that the connection has broken. In that scenario, disconnect the keyboard immediately to prevent further damage; repairing lifted solder pads or reattaching a separated socket requires soldering skills and model-specific manufacturer support rather than switch adjustments.
Treat insertion resistance as a clear stop condition. Removing the switch to recheck pin alignment safeguards the delicate socket contacts far better than extra force.
If the Key Still Does Not Register
If the key still fails to register after you straighten and reinstall the switch, test the position using one known-good, compatible switch. A working key confirms the initial switch or pin had an internal fault, while repeated failure in that exact slot isolates the problem to the socket or circuit board.
When a known-good switch also fails in that position, avoid swapping additional switches into the slot. Repeated insertions increase the risk of damaging the internal socket leaves or PCB solder joints, and persistent dead keys generally indicate an electrical open circuit or damaged trace requiring board-level servicing.
If the known-good switch registers properly, replace the faulty switch permanently and snap your keycap back on to finish the repair; if both switches fail, disconnect the board and contact the manufacturer or a repair technician for PCB service.
FAQs
Can I reuse a switch with a bent pin?
You can conditionally reuse a switch if the pin suffered only a mild bend, straightened completely without cracking, and enters the socket with zero resistance. If the pin exhibits sharp folds, visible fracturing, repeated bending fatigue, or persistent misalignment, discard and replace the switch.
What if the pin breaks off during repair?
Set that switch aside immediately, as a broken pin cannot make electrical contact and requires switch replacement. Inspect the empty socket opening closely with good lighting to ensure no broken metal fragment remains lodged inside, which could prevent a replacement switch from seating cleanly.
How do I prevent bending pins in the future?
Examine the underside of every switch before placing it into the plate, confirming both contact pins are straight and oriented to match the socket holes. Lower the switch evenly into place and press straight down, stopping immediately if any friction or blockage is felt instead of forcing the switch home.